Next part:
I've got the next part to the tutorial done for you, also you'll notice I've got 2 different results this time, just a demonstration that you don't have to make your model muscular, as there are fat people in this world too.

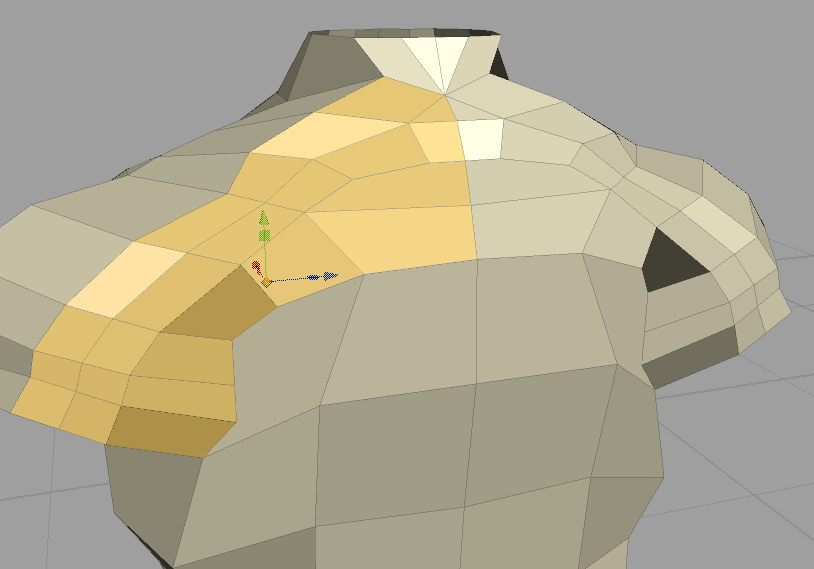
I’ve started on the back, you should be able to work to that - I’ve used cuts and welds her
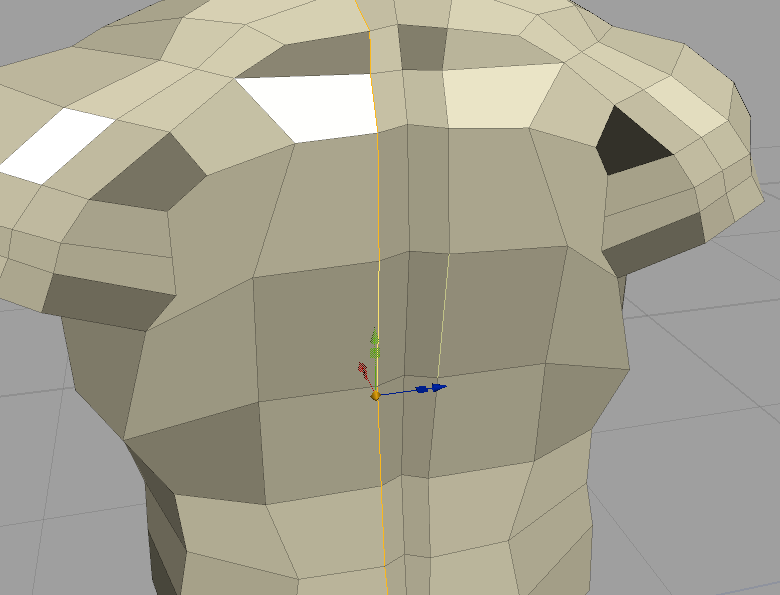
Work on the spine a bit.
From here we’ll need to work on the shoulder blades a bit:
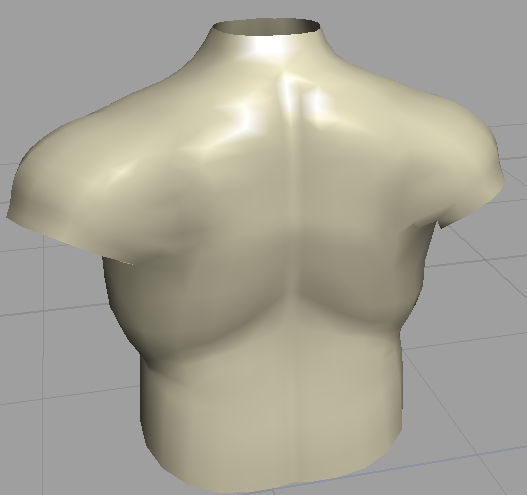
Makes some adjustments to the back.
Have a look at it smooth and you can see that back looks better already.
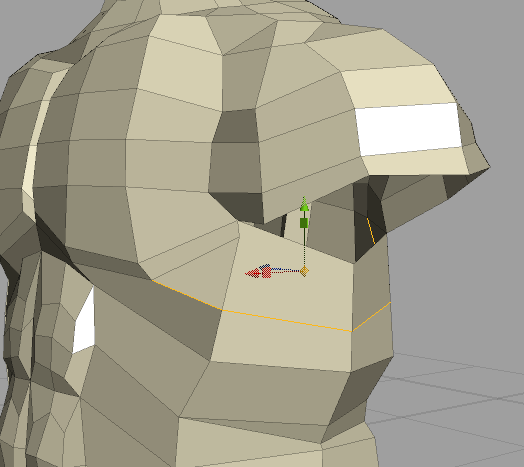
We need to connect the edges from these loose points, plus it will give a poly flow that we’ll need.
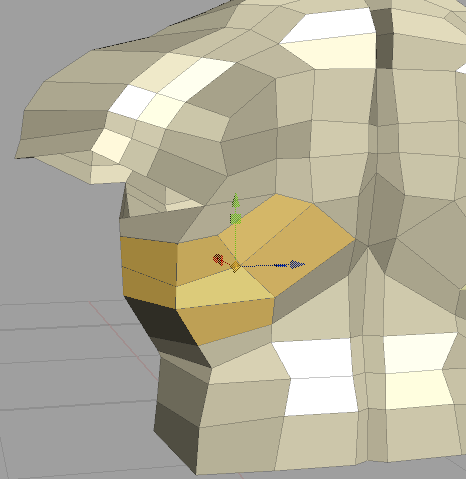
Try to create an edge flow like this, you’ll probably need to delete an edge or 2 first.
There’s more you can do on the torso, but for this tutorial, I think this is enough. You now should be able to follow a muscle reference and apply more muscles in the back and front. So make some adjustments on your model and make sure your torso looks right and then you can move onto other parts of the body.
It should look fine now, so for now this is what we’ll do for the Torso, you can add bits if you so wish, it’s up to you - it might be worth experimenting, not all people are muscular and not all people are male, though female modelling is different, but it’s worth experimenting with, because you might find you know how to model more than you thought. Using this mesh, I’ll turn him into some one a little more overweight - of course I’ll need to edit the geometry of the belly and other parts. but this is what I have:
Of course, MAKE sure you keep your tutorial model in a different save file to any experiments, it may seem obvious, but it’s an easy mistake to make when you’re carried away.
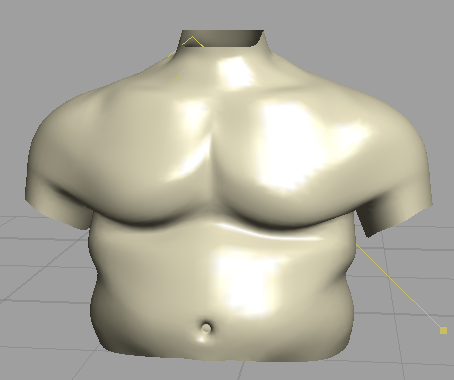
Not perfect, but you get the idea.
LEGS:
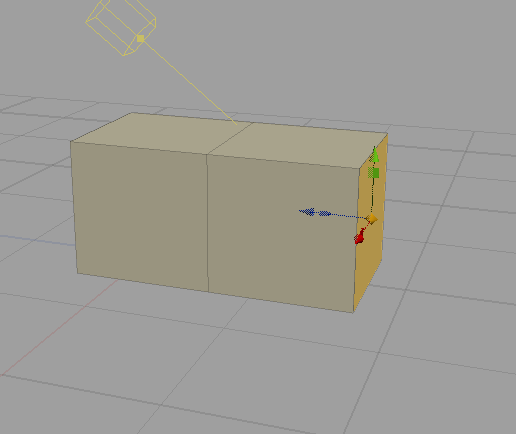
Now we start the box modelling process again, but this time for the legs.
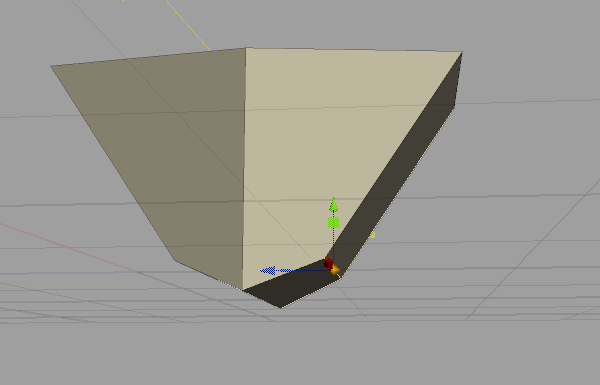
The interesting thing when I see people new to modelling attempting to make legs is that they extrude straight from the bottom polygons totally forgetting about the pelvis and it often makes the models look strange, it’s a simple mistake to make. But it’s so easy to get that pelvis in, all it take is moving that one edge and using the side polygon as your extrusion point.
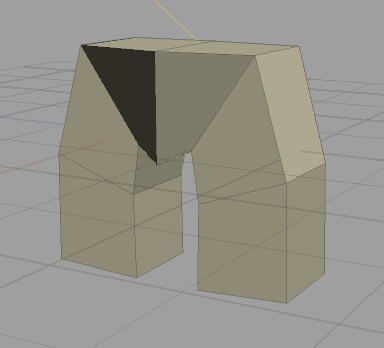
Lets get more of that shape. Now this model may end up looking a little rude, as it’s good practice for the 3D modeller to model the buttocks, it’s not pornographic, nor is it that detailed, something you’d see on those perfume adverts where the posers run around butt-naked.
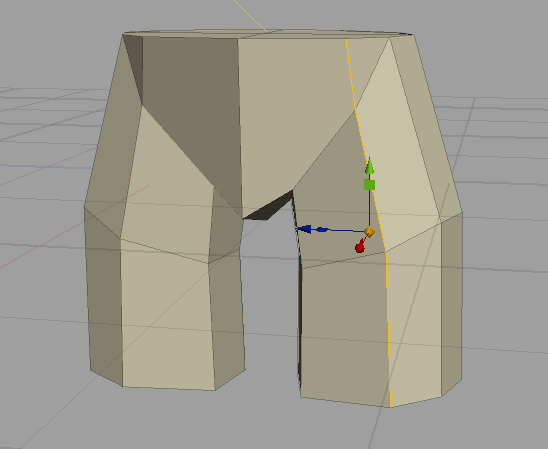
Start rounding off the legs, so it looks smoother.
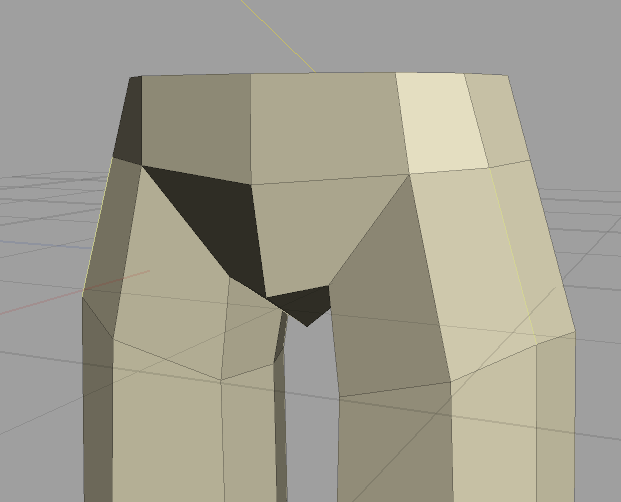
And anything else that needs to be rounder, remember, remove any triangles you make.
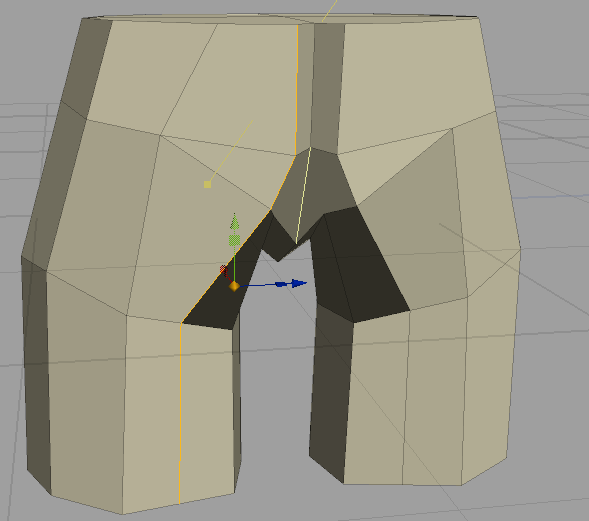
Add this cut and use it to start shaping the buttocks.
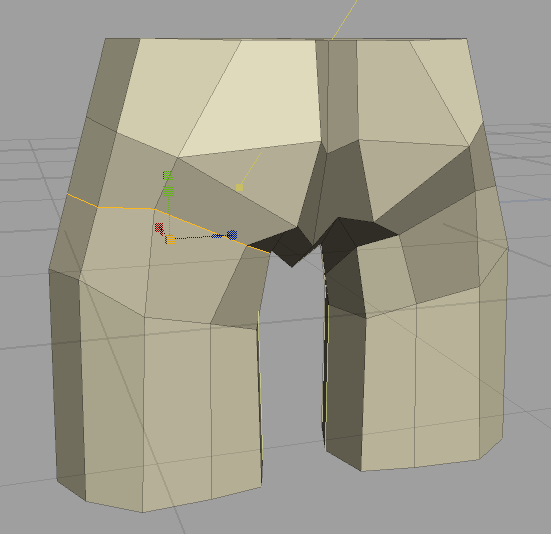
Add more detail so the buttocks will look more real - you can keep doing this - if you switch to Subdivision, you’ll notice it looks flatter. so for high-poly and low poly versions your adjustments will be different.
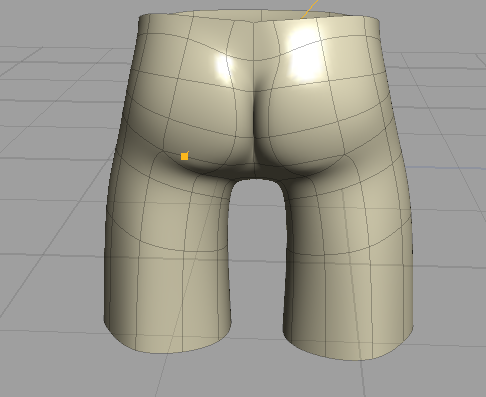
Or in high poly there
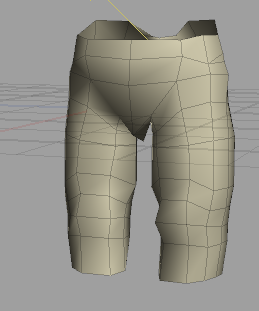
And move on with the legs.
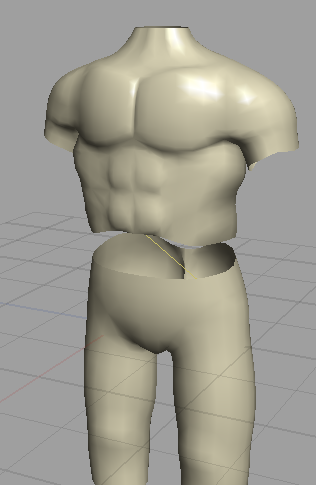
You will notice 1 problem, the leg mesh and torso mesh aren’t attached. We’ll need to attach them, this is where a bridge command usually comes in handy, and perhaps weld/merge or cut, the count of edges on the loop isn’t always the same, so you’ll need to do some editing and then clean up.
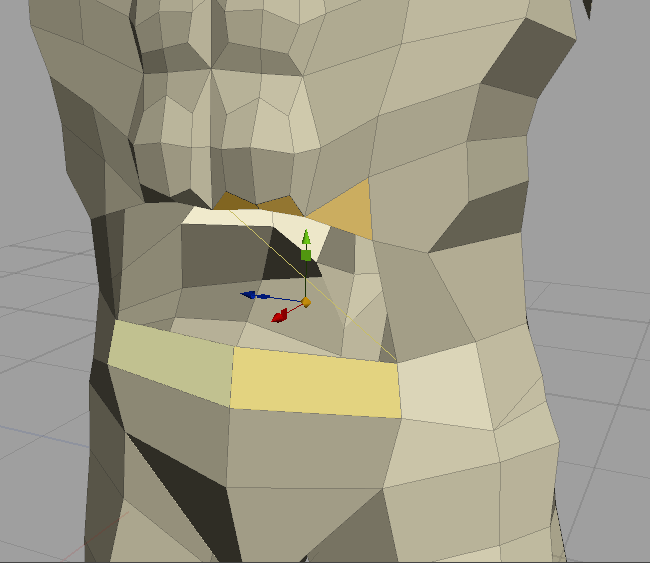
On my model, the edges line up nicely, except these few, now I need to solve the problem, I can either cut the bottom polygon up, or weld the upper vertices together.
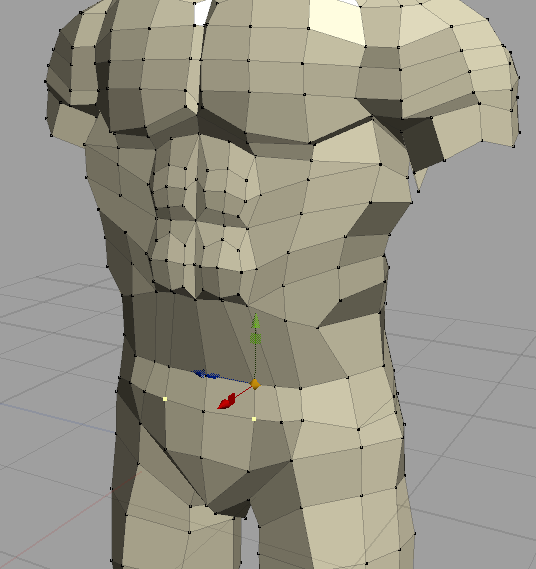
I went for the cut with the edge flow you see there. You’ll notice how there’ll need to be adjustments, and of course, that part of the belly looks flat - all it takes is repeating the muscle process and you’ll have your belly.
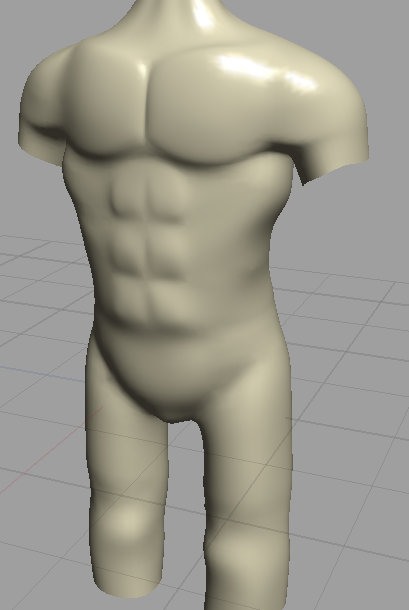
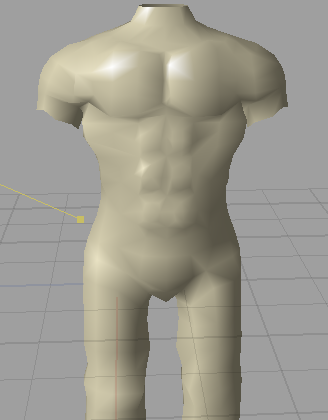
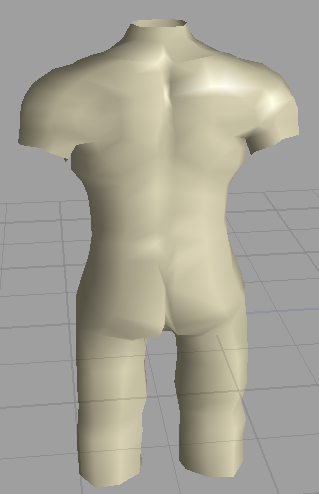
And the Fat Guy:
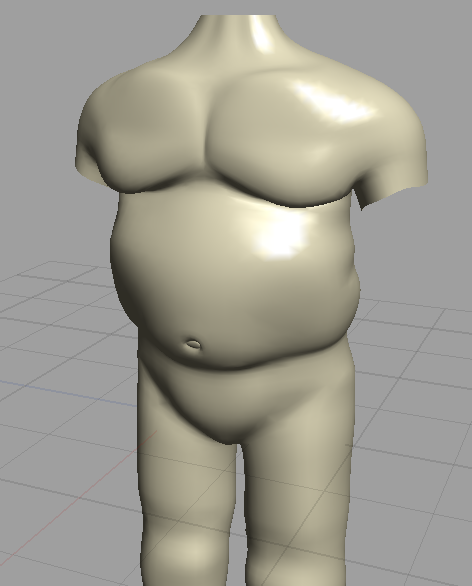
That's the main part done - you'll need arms, hands, feet and a head now. Unfortunately Hands, feet and ears are quite fiddly and one of my weak points, but that will be rectified once I get to them.
"Experience never provides its judgments with true or strict universality; but only (through induction) with assumed and comparative universality." - Immanuel Kant