Hello there!
I felt that I wanted to help everyone out there who wants custom media but dont really know how to make their own, so I made a little tutorial. Its very basic, but I hope you learn something, even if you have made your own models before.
Its a really long tutorial, I will see if I can make it easier to read later on (I wrote everything in a .txt document since I know Apollo sometime want to have fun with me by deleting everything.
What you need:
A modeling software- for this tutorial I use
Milkshape but any software should work.
Entity Workshop
1. Find at least one reference picture, it helps alot when making your model. In this case I am going to make a fireaxe. Here is my reference.

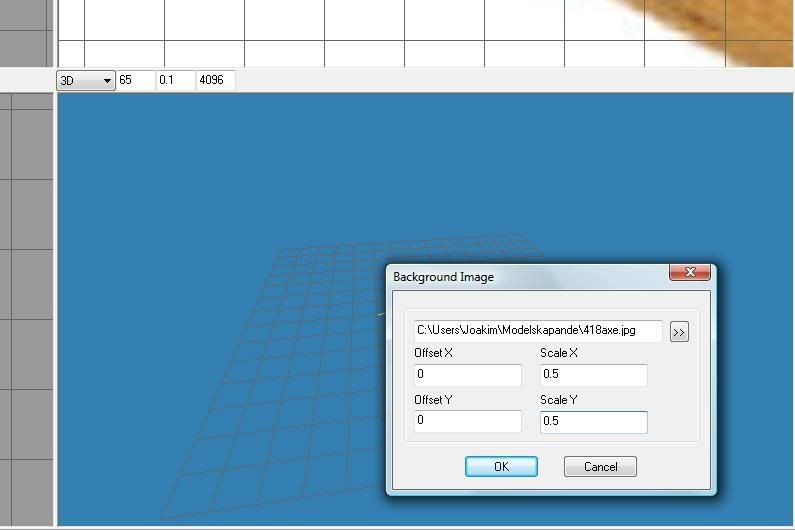
2. Start up Milkshape (or wathever you use) and set you referencepic as a background by rigthclicking in one of the windows and select "Choose background image..."
You may want to scale it down a bit.
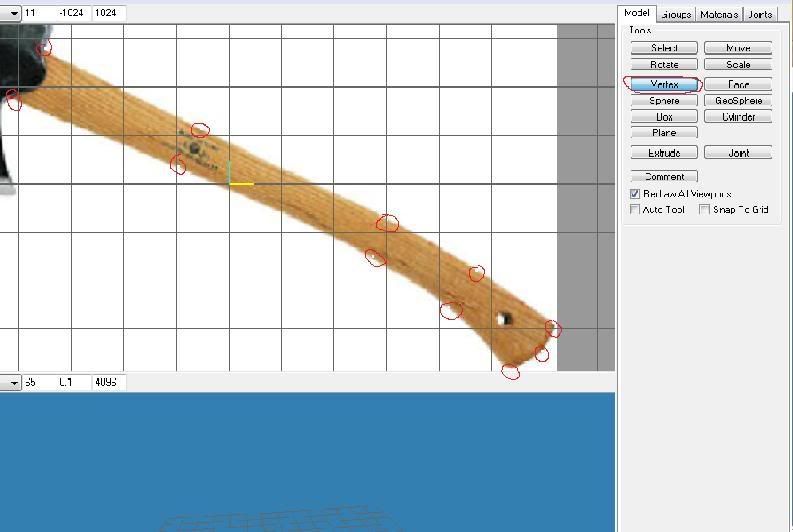
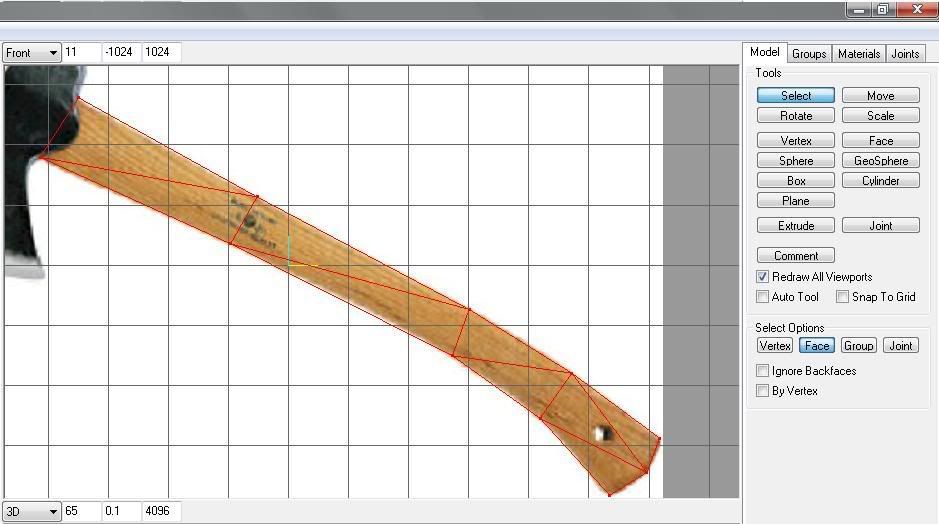
3. Now press the "Vertex" button to the rigth and start adding the vertexes as shown to the shaft (pic). Try to only place vertexes where it is needed.
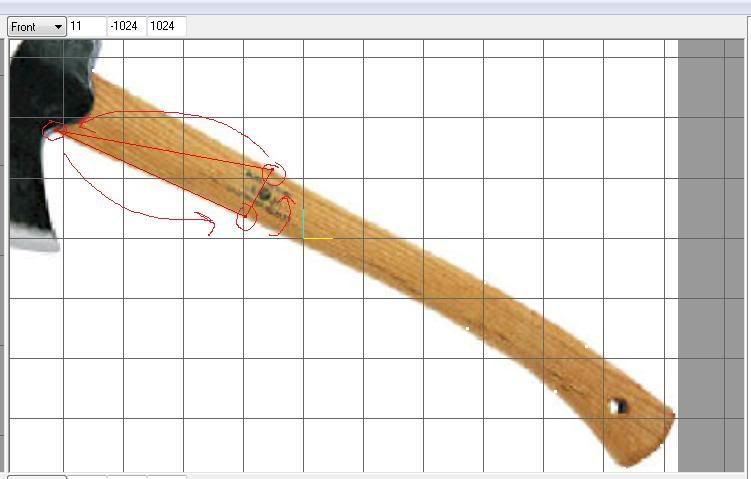
4.Now its time to make the faces. Select "Face" button on the rigth. Faces are triangles wich builds up your model, to create a sucessfull faces, select the vertexes as shown in pic.
Make sure you select the faces counterclockwise, otherwise you will get "backfaces", these "backfaces" turn invisible ingame.
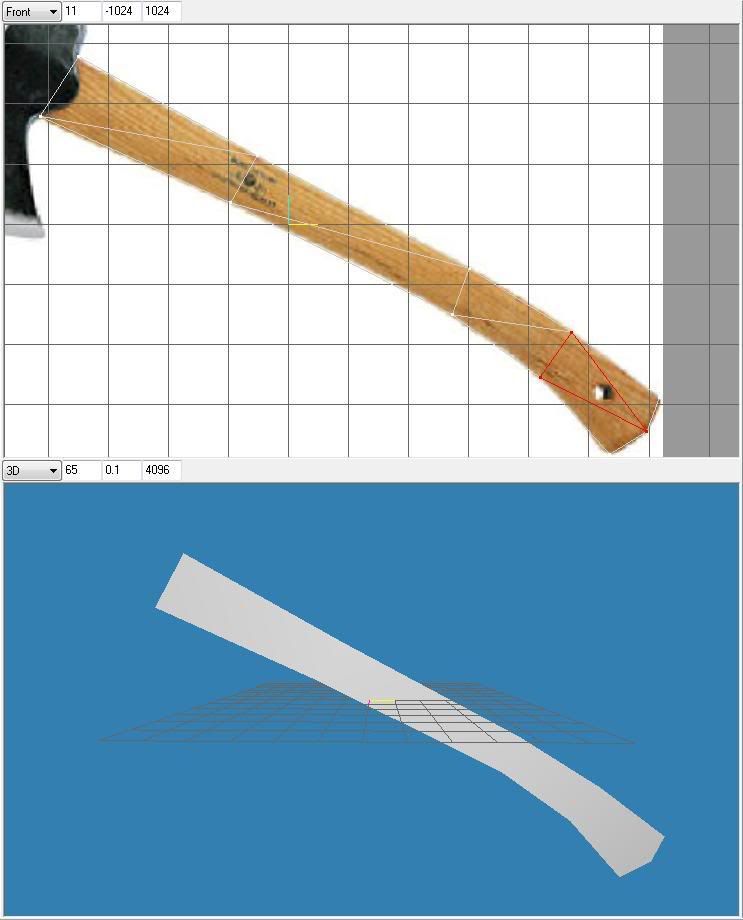
5. Continue to make faces untill everything is covered (see pic). Also notice how you model starts to take form (the white in the 3D window)
6. Now to give the model a little more realistic look we are going to extrude it into the rigth form.
You can only extrude selected faces, not vertexes.
Select all your faces by first select the "Select" button, choose "select Options: Face". Now click and drag your mouse and select all faces. They should turn up red.
7. Now select the "Extrude" button to the rigth, select a view from where you can see the side. Click and drag the faces into the rigth direction (look in the 3D view, if the new faces are turning black you are draging into the wrong direction)
You should end up with something similiar to the pic.
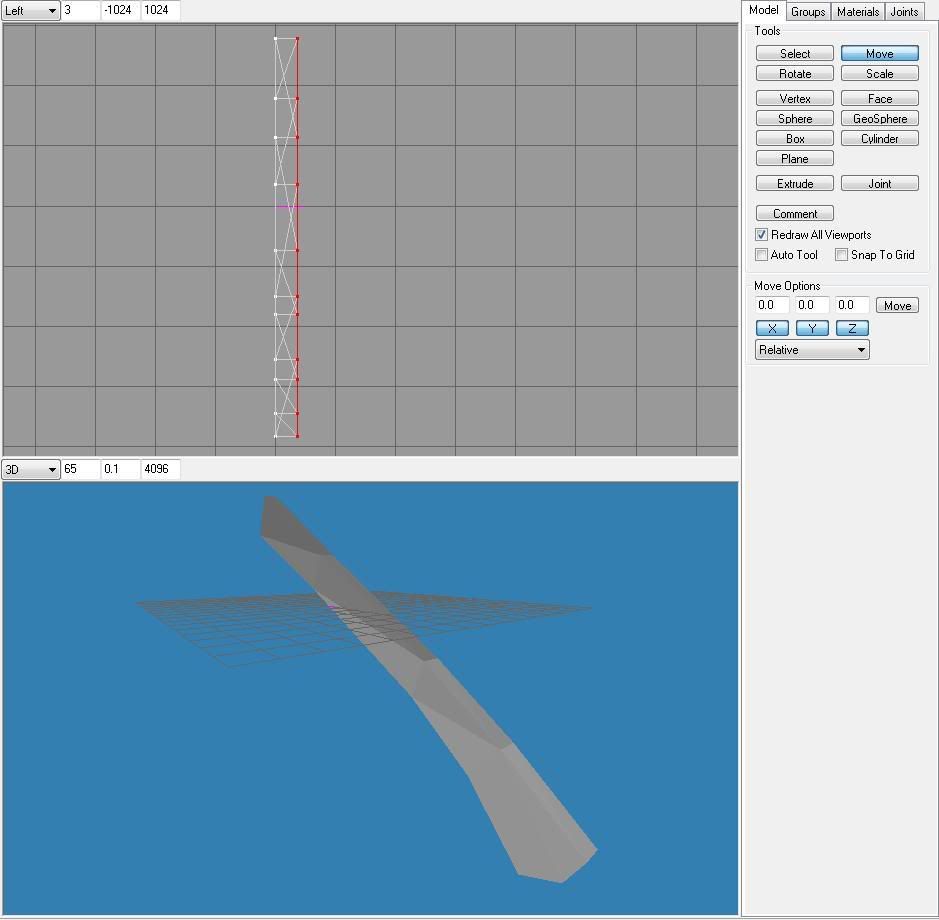
8. Now you will notice your model is "open" in one side, to fix this we will choose the view wich is oposite to the first view ( for me the first view was front so now its the back view), and then do as in step 4-5. You should now end up with a completely closed model.
9.
(advanced step) To get your shaft a bit smoother we will extrude one more time. First you have to select the side faces. This can be done in 2 ways:
a. select all faces on the model, hold shift+rigth mouse button to unselect faces, unselect the faces in the middle...
b. press "Select", and in the Select Options Menu you fill in the "Igone backfaces" box. Now left click and drag to select all faces on one side, notice that the faces on the back and middle wont be selected.
choose the oposite view and shift+left mouse button to select the faces on the back and still keep the other faces selected.
In both steps you should turn out with something like this:
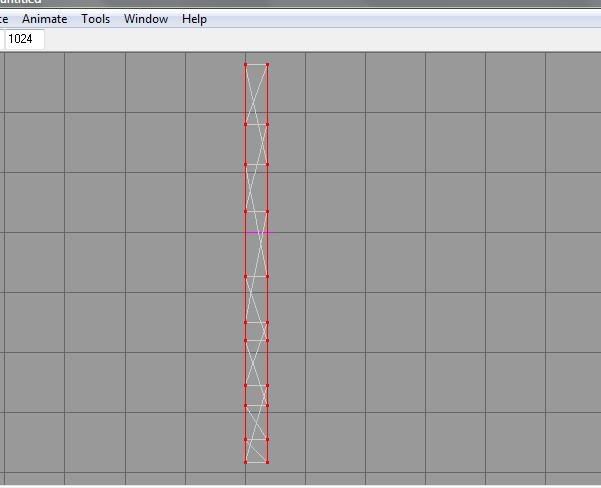
Now press the "Extrude" button again, but dont drag it this time. Notice the "Extrude" button in the "Extrude options", press it and it will automaticly extrude (but do not unselect the slected faces!!!)
Now hit the "Scale" button, you can scale it to your likening by first making it thicker (from top, bottom or side views)
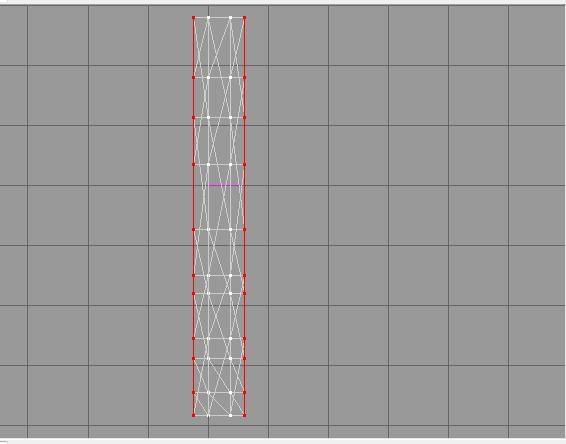
and then making the selected faces smaller
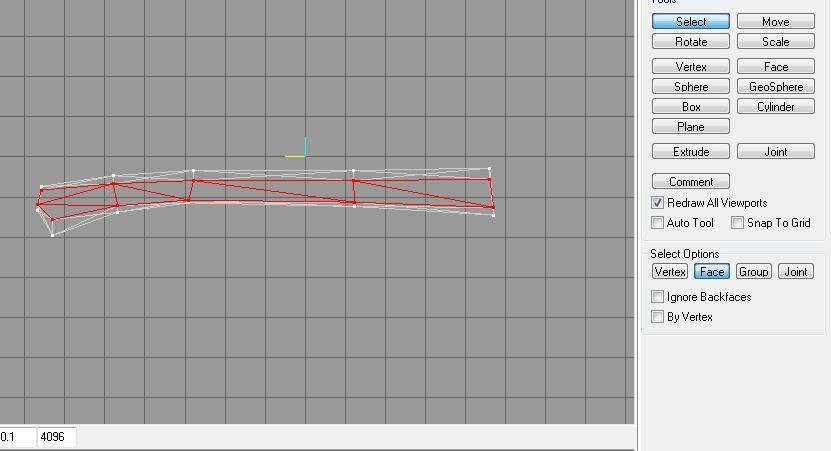
Notice I had to rotate the model since it is hard to get a nice looking scale in this position.
10. To make the axe, simply repeat step
3-8 before continueing (But before you do anything, move all your faces away a bit so they dont disturb you when making the axe)
This is how my axe turned out:
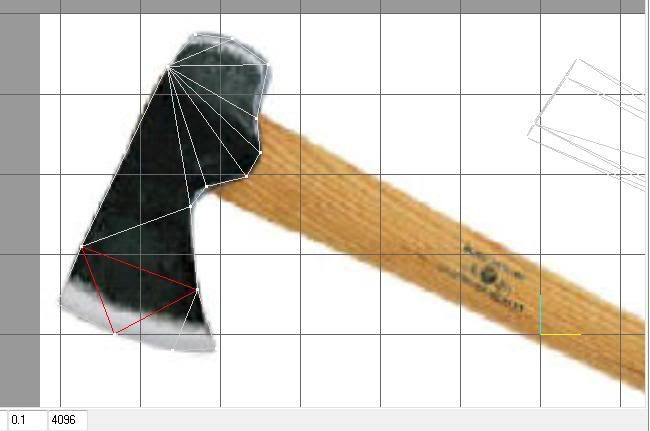
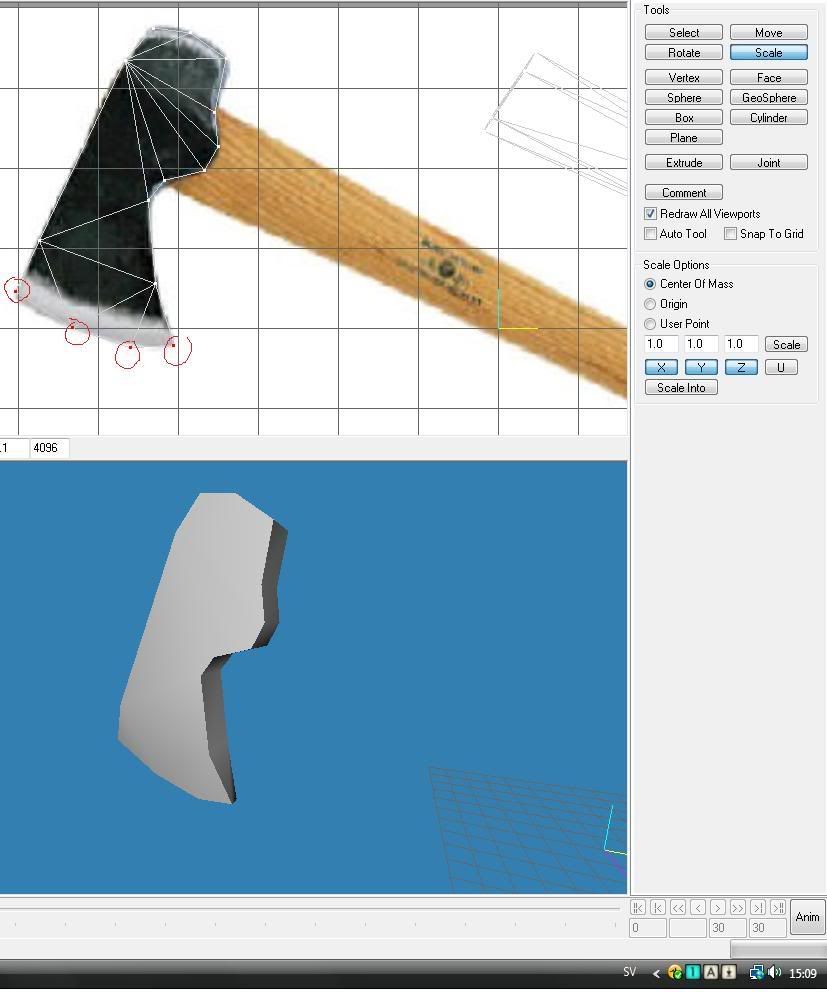
11. Now, to give the more "Axy" look, the simplest way is to select the following vertexes and make them thinner. (see pic)
12. Now select the faces for the shaft and move them back into the rigth position. You may have to scale the shaft so it looks good with the axe, and maybe move or scale some vertexes to give your axe the final touch.
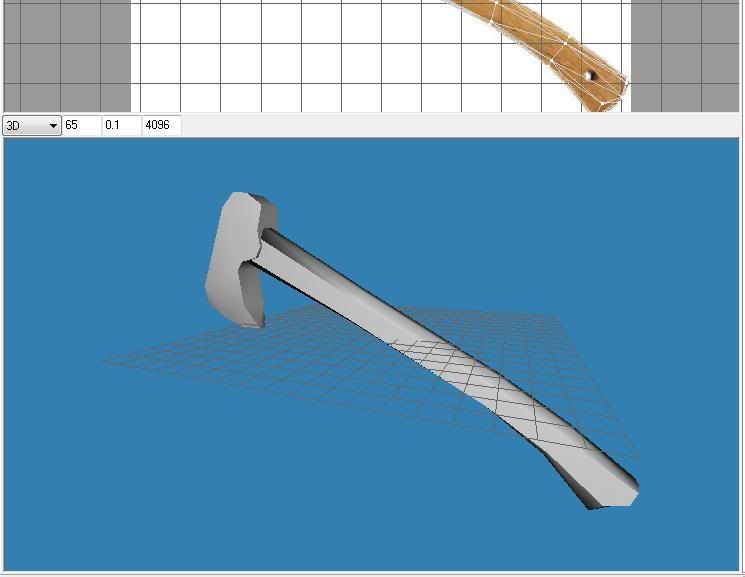
13. Now go to materials, press new, click on one of the "<none>" buttons and select your texture, or in this case, the reference pic. Select all faces and then press "assign".
Dont worry if you dont see your texture on your model. First you have to press "Window/Texture Coordinator Editor". Make sure you have all the faces selected in your editing window, then press "Remap". now you should see your axe in wireframe in the Texture Coordinate Editor, Scale and moce the wireframe untill you think it is okay. Look in the 3D view to see if everything is covered.
This is how mine ended up.
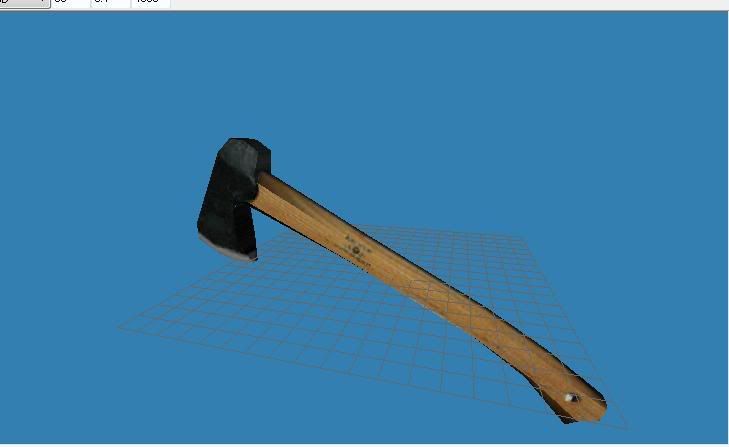
(If you still cant see your texture in the 3D view, rigth lcick and make sure "textured" is checked.
15. If you feel that you are happy with your model, then its time to make it FPSC ready, the easiest way is to use Entity Workshop wich can be found here.
First we have to export the model into the rigth formate, press "File/Export/ DirectX (JT)" and a new window will apear. Name it to your likening and save, then a new window will pop up, use the defaults (if you for some reason have changed anything, here is a pick of the defaults).

Now open up Entity Workshop, I wont tell you have to use Entity Worksho since its pretty self explaining. Load your mesh and texture etc and then save it.
Congratulations, you have now made your own FPSC Ready model from scratch! Good work!
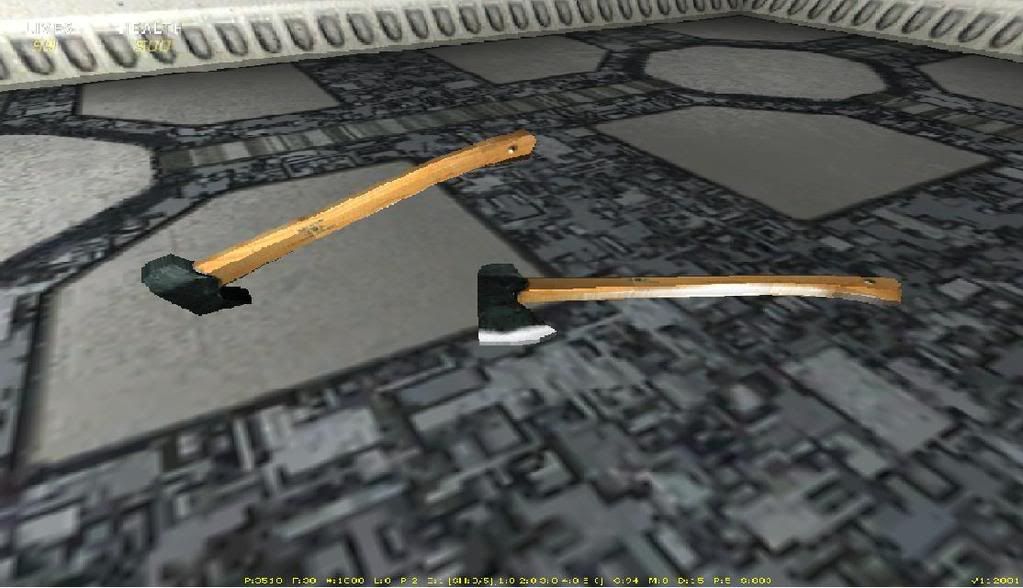
I hope it helped, and that you have learnt something.
If you encounter any problems, please let me know and I can help you.
And if you want, you could show your creations

