How to Create Custom Text HUDS in GIMP (GIMP Tutorial)
 STEP #1
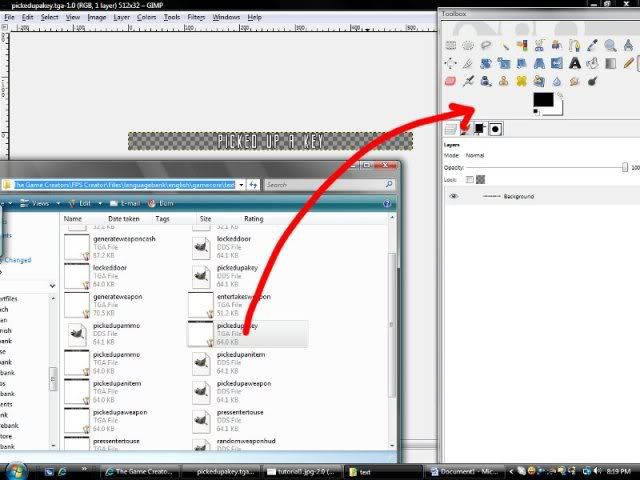
Double-click GIMP to open it. DO NOT open a new image under the file menu. Instead, go into your FPSC files and open an existing text HUD. (You can start from scratch if you like, but this way is faster because the existing HUDS are already set up properly by size, transparency, etc). Choose any HUD in the gamecore text file and drag it to the GIMP toolbar to open the HUD.
C:/Program Files/The Game Creators/FPS Creator/Files/languagebank/english/gamecore/text
 STEP #2
Select the current text in the HUD (CTRL + A), and delete it. You should now be left with an empty and transparent, narrow strip. Now, from the toolbar, select the text tool, and open the tool options dialog (both are circled in the preview). This tool allows you to add text to your image. You can choose the font color, the size, and so on.
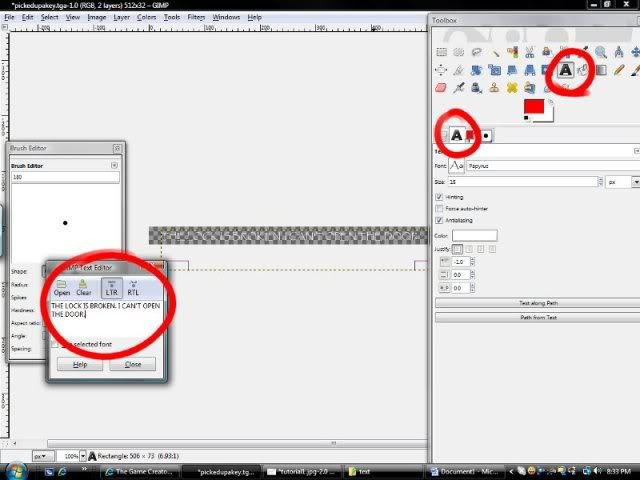
To add text to the HUD, click and drag on the image to create a text box. Once you do that, a text box will appear (circled in preview). Type your HUD here, and it will appear in the box on the image. If you’re not happy with the size, or position of the text at this point, you can go back over to the tool options dialog and change them. If the position of your text box isn’t where you want it to be, just click on the text box you drew on the image, and move it with either the mouse or the arrow keys.
STEP #3
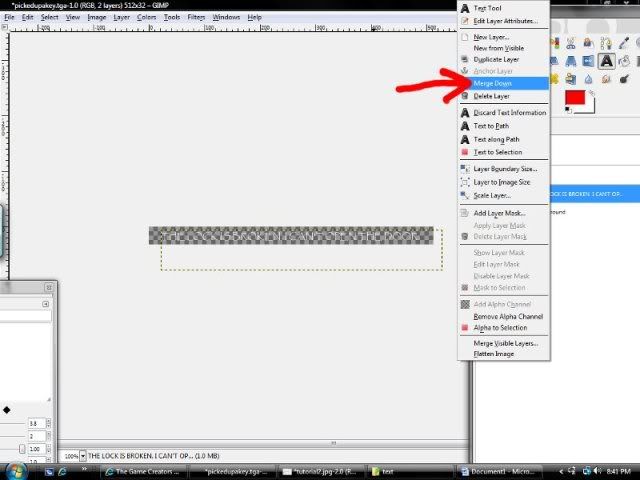
Once you centered your text, press CTRL + L to open the layers dialog. Here, you’re going to merge down your text layer with the background layer of your image. Right-click on the text layer and select “Merge down”. Right-click one more time and select “Layer to Image Size”.
From this point, you can go to file > save as, and save your new HUD in the same file folder you got the template from.
C:/Program Files/TheGameCreators/FPS
CreatorFiles/languagebank/english/gamecore/text
To make the HUD appear, just change the file path in the .fpi script of the object you want to show your new HUD. That’s it!
 STEP #4
ADDING DETAIL
STEP #4
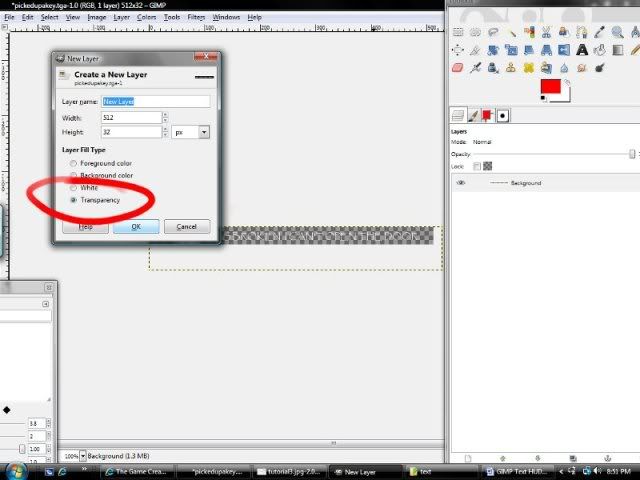
ADDING DETAIL – If you want to keep going with your HUD, you can add more to it in GIMP to make it more custom. As an example, press CTRL + L to open the layers dialog (if it’s not already open), and right click on your background layer. Choose, “New Layer” from the list.
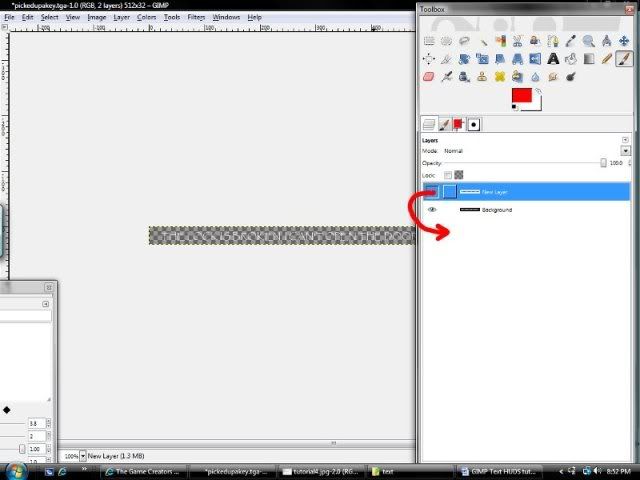
Now, left-click, and drag the new layer so it is underneath the background layer. Once you place it under the background layer, left-click on the new layer to select it (the selected layer will be highlighted blue).
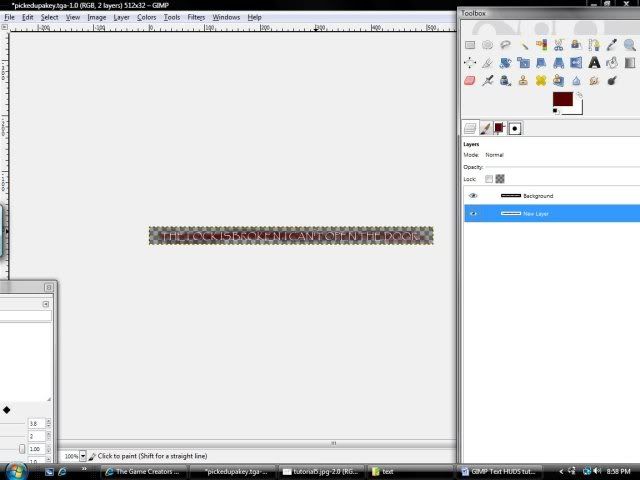
This new layer (since we placed it underneath the background layer) will appear behind our text. So anything we add to this layer will be drawn behind our current HUD. You can use the paintbrush tool to add a background to the text, or create a new text with a different color to add a shadow to the text display. Whatever you choose to add, when you’re finished, make sure to right-click on the top layer, and “Merge Down” the image. Right-click on the image again, and select “Layer to Image Size”. Save your work, and you’re done!
-Kravenwolf
Success is not final--failure is not eternal.
