New Tutorial!!!
This one is a Modeling Tutorial!
Ok This is what i'm going to show you how to make. Its Quite a Nice model for testing out materials on!. So we can use this model in Later Rendering Tutorials.
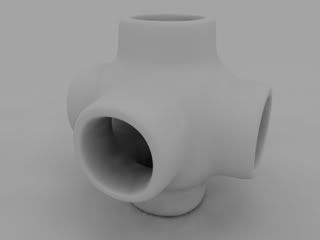
I'll Show you how good it is for Trying out Materials and Render Techniques:

Unfortunately i cant show you how to do that yet as this tut will take long enough as it is.
Ok We have to begin somewhere and i always like to begin at the Start. (It makes sense)
We need a Cube! So click on the Cube Button or go into Object==>Primitive==>Cube.

Ok so now we have a lovely Cube, The Default Dimensions will do fine so we need to make the Cube EDITABLE. To do this Either Press C on the keyeboard or press this Button on the Left hand side Tool Bar.

Making a Primitive EDITABLE means you can Edit the points and polygons!
Ok now we can start Editing the Cubes apearance.
In Cinema 4D there are Three "Modeling Modes" There is:
1) Polygon Tool
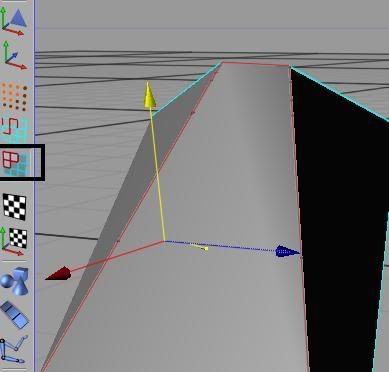
2) Edge Tool
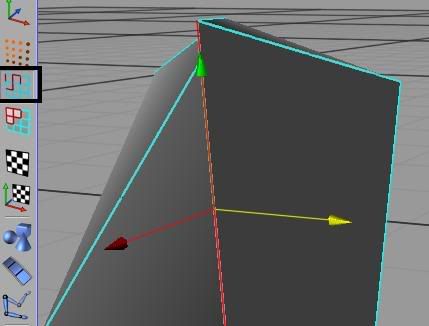
3) Point Tool
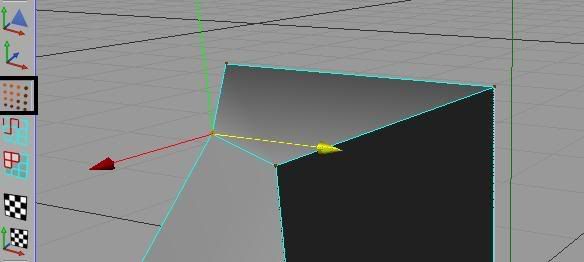
We are going to be Switching between Polygon Mode and Point Mode, So keep a Look out!
Well Now we have an editable Cube, Switch to Polygon Mode.
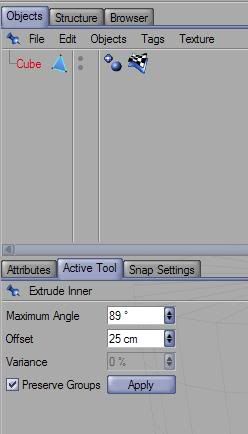
Now Right Click, a Window Should Appear. Select "Extrude Inner" From the List.

After you have selected the Extrude Inner Tool, Go into the Active Tool Menu on the Very Right Hand side. Type in 25 into the Offset Box and Click Apply.
You should now have something that looks like this:
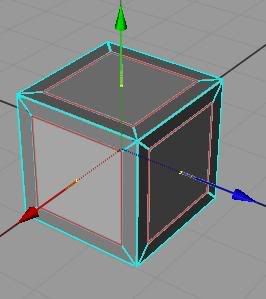
If you have something like this. Right Click, and Select "Extrude" From the list, Then in the Active Tool Window, Change the Offset to 50 and Click Apply. You should now have this:
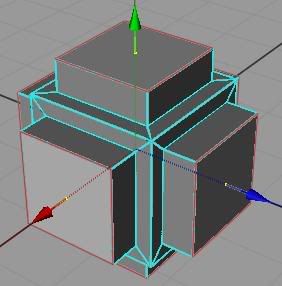
Now when you have this, Right Click again and Select "Extrude Inner" From the List Again. Now go into the Active Tool window and Set the Offset to 12.5 and Click Apply Twice. You should now Have this:
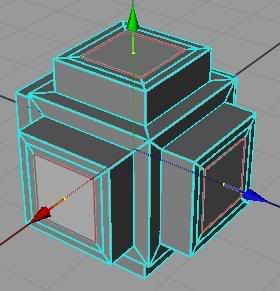
Not over yet!
Right Click again, and Select Extrude from the List. Now set the Offset Value in the Active Tool Window to -100. Then Click Apply.
You will have something that looks like this:
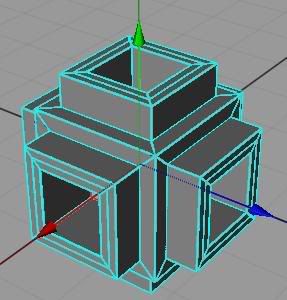
Hehehe! Dont press anything after you click apply. After you click Apply, Press Delete on the Keyboard. This has now Deleted those Polygon faces we were using and has now made our object with holes in:
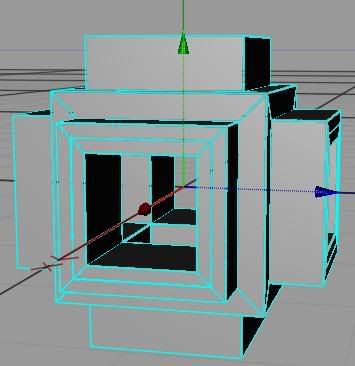
Right... Doesn't look Very Smooth does it? This is where HypeNURBS helps us! So, Click on the HyperNURBS Button or go into Objects==>NURBS==>HyperNURBS.

Now in the Object Manager Drop the Cube into the HyperNURB Object. Like so:
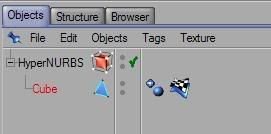
Woo!! Looks Finnished.

But O NO!!! Whats this? We have holes on the Inside of our Object:
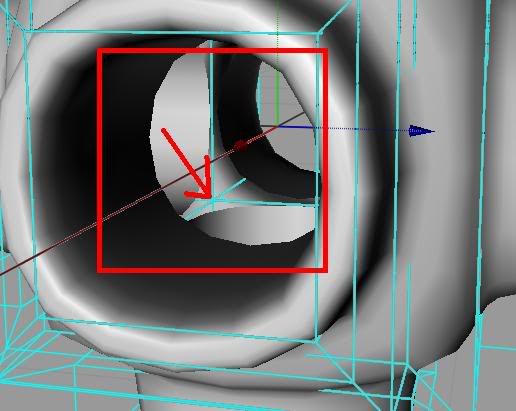
This is Becuase when we Extruded the polygons in to meet each other, they did not Join to each other. And this has caused Holes in our object when we applied the Nurbs object.
Now, Switch to Points Tool. And Click on the Rectangular Selection Tool. Or go into Tools==>Rectangle Selection.

When you have selected this tool, Go into the Active Tool Window and Uncheck "Only select Visible Elements". This means now when we Drag our rectangle over all the points, every on of them is selected.
So Select all the points By Draging the Rectangle tool Over the points. Right Click and Select Optimize. A window will pop up, The Just Press Ok as the Default settings will be Fine. And Bang! Notice those Holes Disapear? Woo hoo! However, our model is not complete yet! Its a bit square. This bit may be a bit confusing so pay attention.
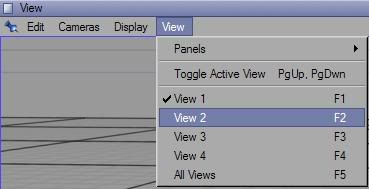
Switch to a Top View or as its called in C4D... View 2:
Now Select the Live Selection tool, and in the Active Tool window Uncheck "Only Select Visible Elements". Just like we did for Rectangular Selection.
Click on the two point selected, Whilst Holding down Shift, This allows you to select points after u have let go of the mouse button.
After you have selected these two points, Change the X Value in the Coordinates Window (Which is Currently 100) to 85.
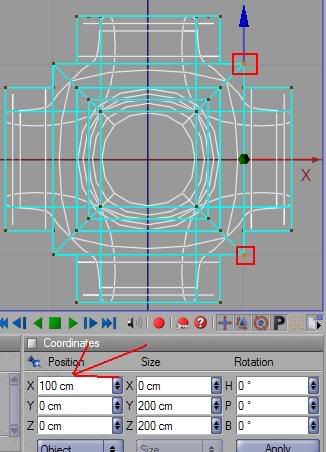
Now do the same to the opposite Side, making sure the X value is set to -85.
Now select these points and set the Z Value to 85.... Notice a Pattern?
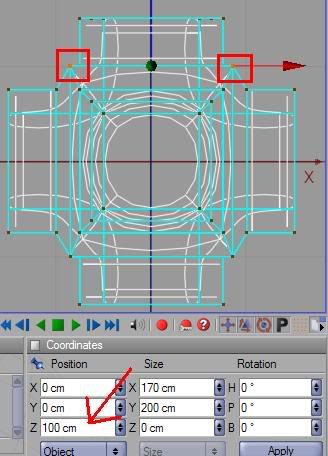
Select the points opposite to this and set the Z value to -85.
Now go into View 3.
Select these points:
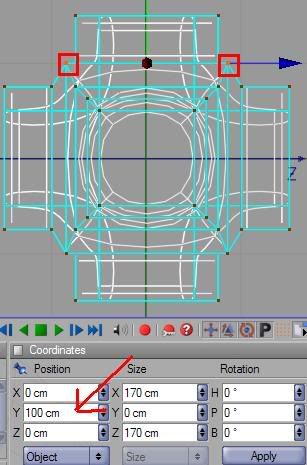
Set the Y Value to 85. Select the opposite points and set the Y value to -85.
And there you go! Finnished! Took 1 and a Half Hours to write, will thake 2 minutes to do with a bit of Practise. Hope this Helps anyone!
Add,

Truly Magical!
